4 Trails Structures the Citywide Trails Team Installs to Make NYC Trails More Accessible
By Natural Areas Conservancy on September 19, 2024

By Natural Areas Conservancy on September 19, 2024

 By Gabriel Cummings, Trails Technical Manager
& Josh Otero, Trails Program Manager
Since 2015, NYC Parks and the Natural Areas Conservancy (NAC) have partnered on the Citywide Trails Program to formalize and improve over 217 miles of natural areas trails throughout NYC parkland and to improve trail conditions across all five boroughs. The goal for the program is to fully formalize an approximately 275 mile network of trails in over 60 parks citywide. The Citywide Trails Team envisions a network of trails that inspire and provide an opportunity for New Yorkers to have a deeper connection with the diversity of nature that NYC natural areas have to offer. This valuable partnership continues to expand its work towards achieving the vision of a healthy, accessible, and enjoyable trail experience for all New Yorkers.
What exactly does it mean to formalize nature trails? In addition to pruning vegetation from within the trail corridor and closing desire lines, the Citywide Trails Team utilizes four main trail structures to make these natural areas more accessible. Read on below for an overview of each type, and how we go about installing them on the trail.
![]()
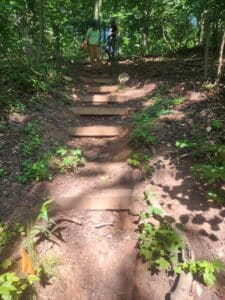
Installing check steps
Purpose: Check steps are timber or rock structures that are installed on steep slopes to mitigate erosion, improve the grade, retain sediment and provide a more navigable route for hikers.
Installation Process:
![]()
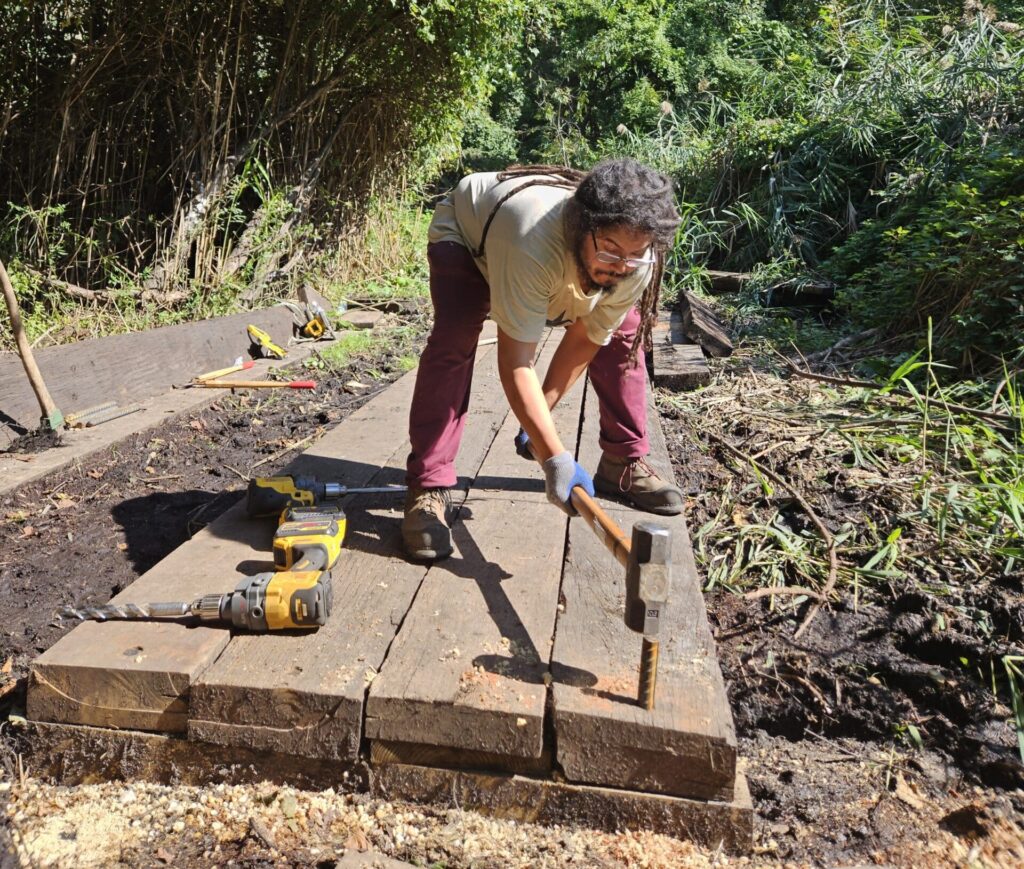
Installing puncheon
Purpose: Puncheons are low lying walkways used to cross muddy, or flooded areas. They also serve as short stream crossings.
Installation Process:
![]()
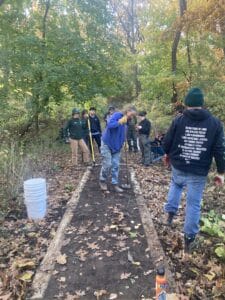
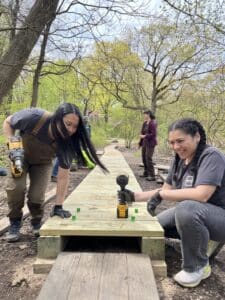
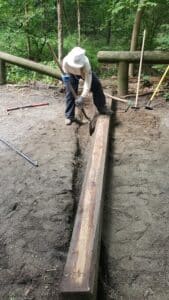
Installing turnpike
Purpose: A turnpike serves a function similar to a puncheon by raising the walking surface or the tread out of low-lying muddy or flooded areas. The difference is, a turnpike is composed of a timber or rock frame, within which a layer of crushed rock and mineral soil are compacted. The tread surface is tamped down to form an arc so water can shed off of the structure.
Installation Process::
![]()
Installing water bar
Purpose: Water bars are timber or rock structures that reinforce an earthen structure called a drainage dip. The function of a water bar is to support the drainage dip in redirecting water off of the trail, especially on steeper slopes, in order to mitigate erosion.
Installation Process:
Are you interested in improving your local NYC trail? Join our Super Steward Trail Maintainer Program to receive advanced trails training. If you are a current NYC Parks, non-profit, or conservancy practitioner, we encourage you to join our Trails Technique Training during Climate Week from September 22 to 29. Get in touch to sign up!